Home Fall Risk Assessment: A Room-by-Room Safety Guide
A thorough walk-through to identify specific changes that will make the biggest difference
Most falls are preventable, and the fixes are smaller than you think. A thorough walk-through of your home, room by room, can identify the specific changes that will make the biggest difference for your safety. This guide helps you spot real hazards and prioritize the modifications that matter most.
You know your home better than anyone. This assessment builds on that knowledge by giving you specific things to look for and clear next steps for what you find.
1
How to Use This Assessment
Set aside an hour when you have good natural light
Walk through each room with this guide and a notebook. Look for the items listed, but also trust what you notice. If something feels awkward or unstable, write it down.
Mark items as "fix now," "fix soon," or "monitor"
Different items need attention at different times, but everything should be on your radar.
2
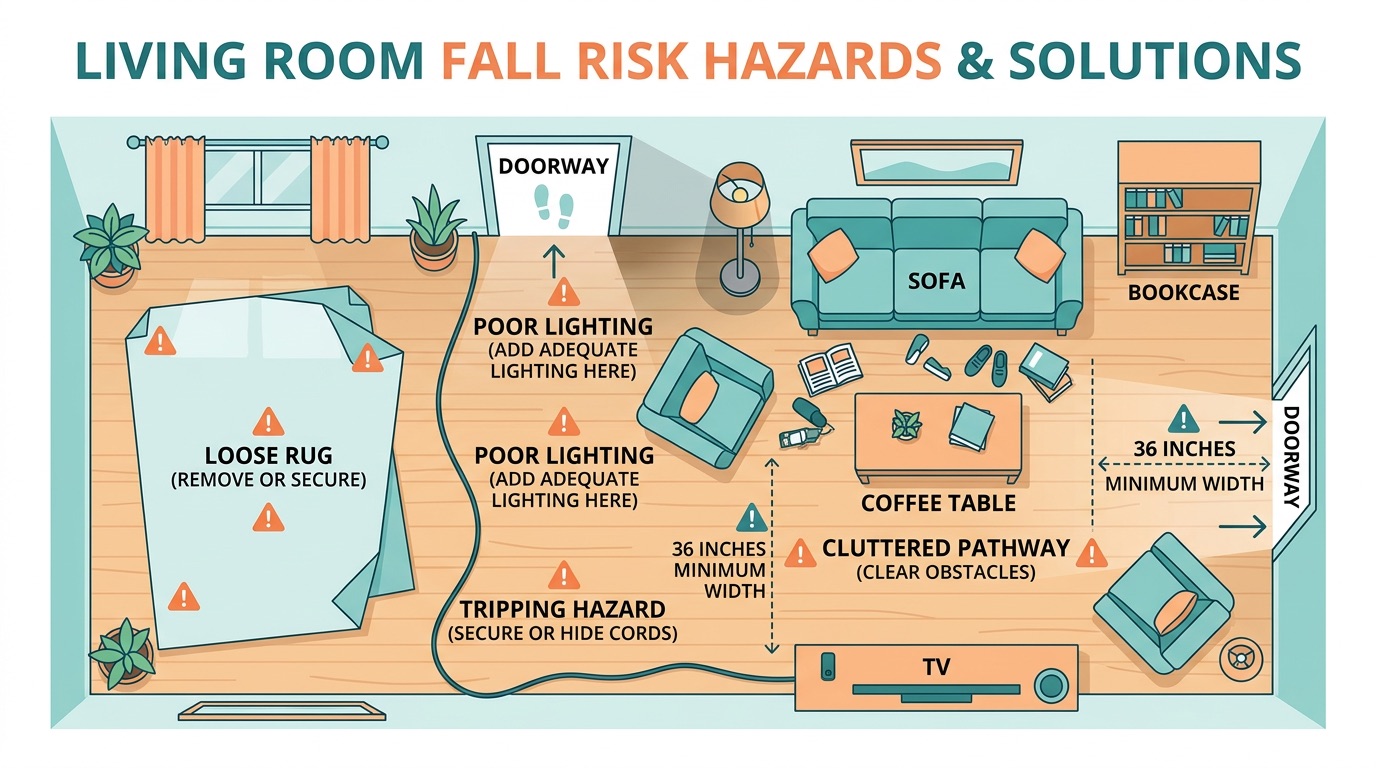
Living Room and Family Room
Check that you can see clearly from the main entrance to your usual seating area
Note any dark corners or shadowy areas you walk through regularly. Test that you can reach light switches before walking across dark areas.
Walk your normal path from the entrance to your chair
Record anything in the way. Check that coffee tables, side tables, and ottomans have rounded corners or adequate clearance.
Living room assessment areas
Test that your favorite chair is the right height
You should be able to stand up with minimal hand support. Look for furniture that could provide support if you need to steady yourself while walking.
Check that area rugs lie flat and have non-slip backing
Look for loose carpet edges, worn spots, or transitions between different flooring types. Note any cords crossing walkways.
3
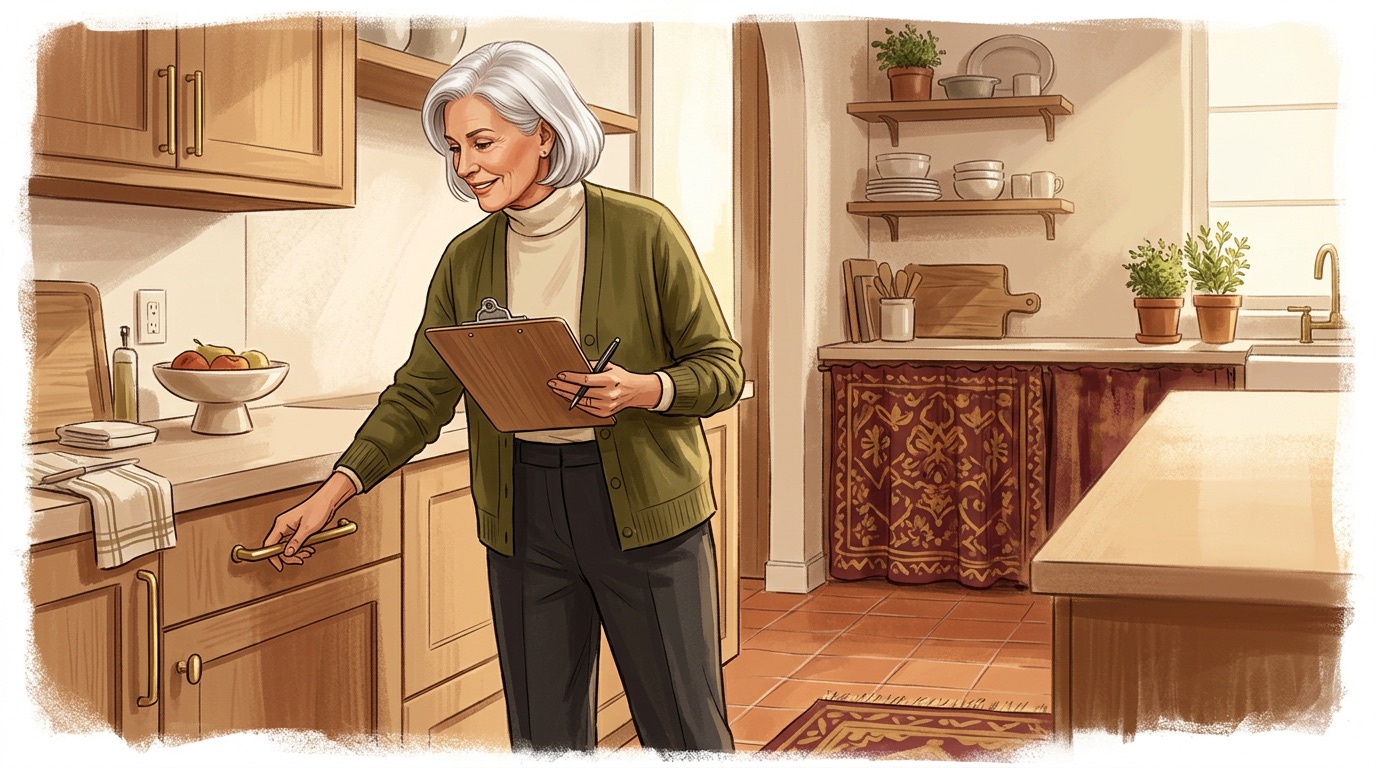
Kitchen
Check that items you use daily are stored between waist and shoulder height
Test that you can reach into cabinets with full arm extension and good balance. Look for heavy items stored on high shelves.
Check for areas where water commonly spills
Look near the sink, dishwasher, and refrigerator for worn spots or areas where grease might make the floor slippery.
Kitchen safety assessment in progress
Test lighting over the stove, sink, and main prep areas
Check that you can see clearly into drawers and lower cabinets. Look for shadows cast by upper cabinets over work surfaces.
4
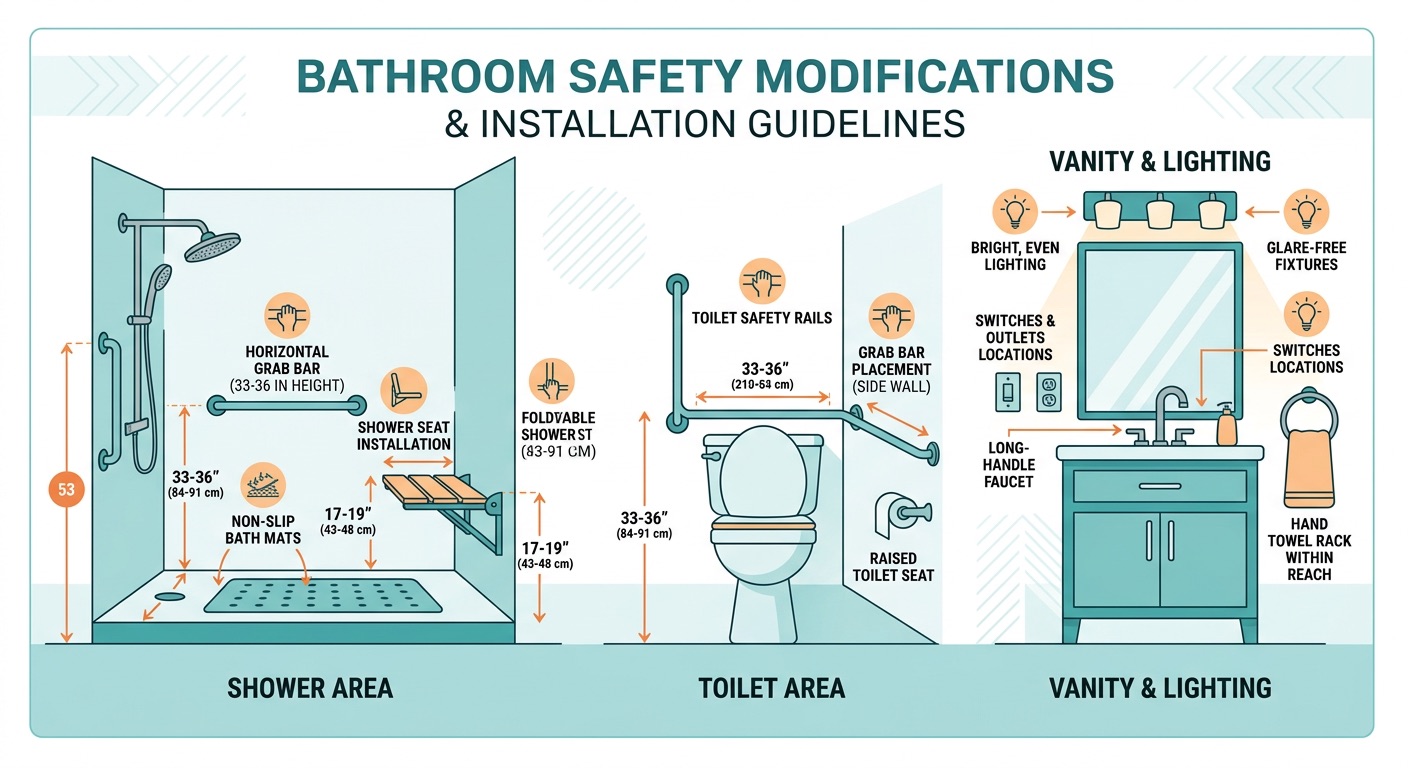
Bathroom
Check for grab bars where you step in and out
Test the stability of any existing grab bars by pulling firmly. Look at the shower or tub floor surface and record slipperiness when wet.
Measure your toilet seat height from the floor
Standard height is 15 inches. Test how easily you can sit down and stand up. Check for grab bars or stable surfaces within arm's reach.
Bathroom safety modification points
Test lighting over the mirror and throughout the room
Check for non-slip surfaces where you step out of the shower. Look for items stored on the floor that you might trip over.
Note the path from the bathroom door to the toilet
This is especially important for nighttime visits when visibility is reduced.
5
Bedroom
Test the height of your bed
Your feet should touch the floor when sitting on the edge. Check for sturdy surfaces within reach when getting up such as nightstand, dresser, or wall.
Look at the path from bed to bathroom, especially in low light
Note any items stored on the floor around the bed. This path should be completely clear.
Check that daily clothes are stored at accessible heights
Test that dresser drawers open smoothly with reasonable force. Look for items in the closet that require reaching or bending.
Test bedside lighting
Record if you can turn on a light before getting out of bed. Check lighting for the path to the bathroom.
6
Stairways and Hallways
Check that handrails are present on both sides of stairways
Test handrail stability by gripping firmly and applying pressure. Look at handrail height to confirm it's comfortable for your grip.
Test lighting at the top and bottom of stairs
Check that each step is clearly visible. Look for light switches accessible before you start up or down.
Look for worn, loose, or uneven steps
Check that step edges are clearly defined. Test that carpet or other coverings are secure.
Check for adequate lighting throughout hallway length
Look for furniture, decorations, or other items that narrow the walkway. Test that you can walk the full length with good balance.
7
What to Do With Your Assessment
Fix Immediately
Loose rugs or mats, blocked pathways, missing lighting at stairs, items stored on floors in walking areas.
Plan for This Month
Grab bar installation, lighting improvements, furniture rearrangement, storage reorganization.
Monitor and Plan Ahead
Handrail repairs, flooring improvements, major lighting upgrades, furniture replacements.
Consider Professional Help: Grab bar installation (requires hitting wall studs), electrical work for new lighting, handrail installation or repair, major bathroom modifications.
A home safety assessment is an ongoing process. Plan to walk through this checklist twice a year, or whenever you notice changes in your mobility or balance.
Start with the items that feel most urgent to you. Every improvement makes your home safer and more comfortable.
Free Resources
AARP HomeFit Guide provides free room-by-room home assessment checklists
Area Agency on Aging offers local resources for home safety assessments and modification assistance